Family tree of eva rubber for children. Children's craft
The family tree gives young children the opportunity to learn more about their past, helps them to understand their family structure, to be proud of their heritage and to encourage their sense of belonging. Guiainfantil.com shows you how to make árbol a family tree of eva rubber for children, a chil
The family tree gives young children the opportunity to learn more about their past, helps them to understand their family structure, to be proud of their heritage and to encourage their sense of belonging. Guiainfantil.com shows you how to make árbol a family tree of eva rubber for children, a children's craft very easy to make and that will also provide the little ones with a different way of learning more about their roots. While you are doing this project with them,
you can tell them stories about their family, their grandparents, or interesting anecdotes, that will allow your children to enjoy quality family time. Here are the steps to follow to make this fun manual! Material:
White and black eraser rubber
- Green, orange and blue eraser rubber
- Small wooden tweezers
- One pencil
- Scissors
- One rope
- One folder
- How to make an evasive family tree with children
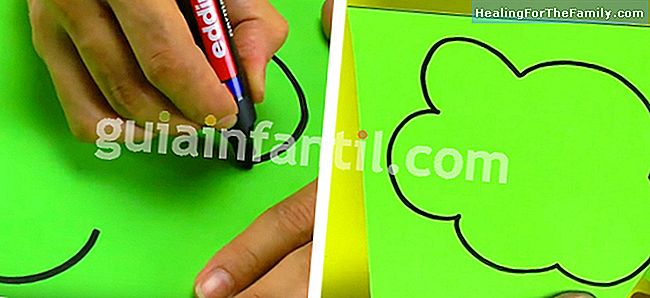
1 To begin, take your green eva gum and draw with your pencil the crown of a tree. Now that you have the ideal shape of your tree, re-trace it but now with a black marker. Cut the tree's crown with your scissors. Des
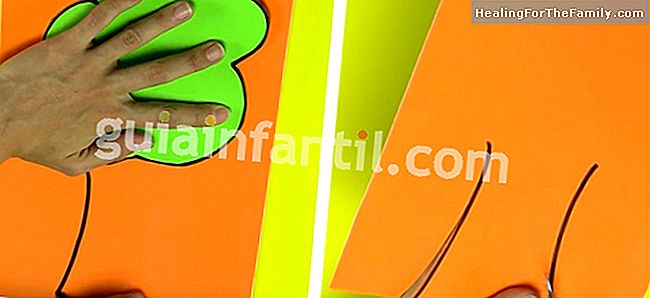
2.Then take your orange eva gum and place on it the figure you just cut out. Mark on the orange eva gum the trunk of your tree and then cut it out.
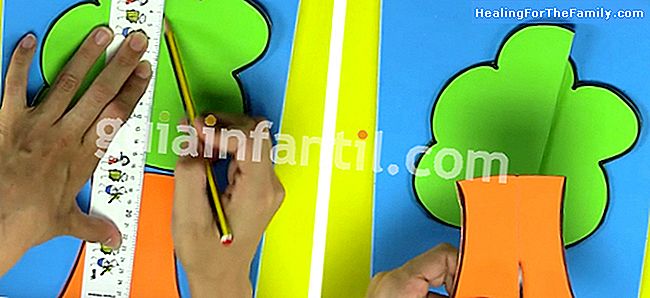
3. Place the two pieces that make up the tree in the middle of your blue eva gum. Then with a ruler and a pencil draw a line right in the middle of your figure. Use this guide line to
cut the tree in half with your scissors.
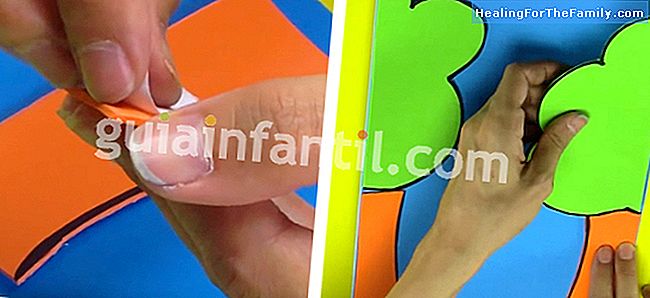
4. The next step is to remove the adhesive from both the trunk and the top of the tree. Glue one half of the trunk and half of the glass on the blue eva rubber on one side. Repeat this same step on the opposite side. So we will create 2 little trees, one on each side.
5.
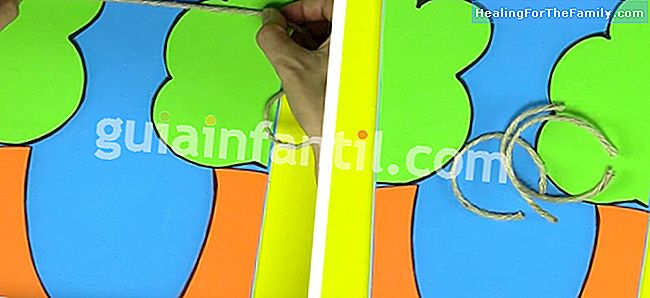
Next, place the rope in the middle of the trees
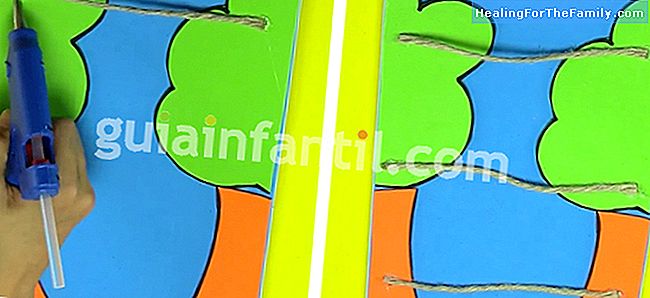
and carry it from one end to the other, simulating a straight line. Cut your rope about two centimeters before leaving the rubber band (remember to leave two centimeters on both sides). Repeat this step 2 more times to achieve 3 pieces of string.6. With the help of a hot silicone gun stick one of the strings on the top of the tree canopy, one more at the base of the cup and one last at the height of the trunks.
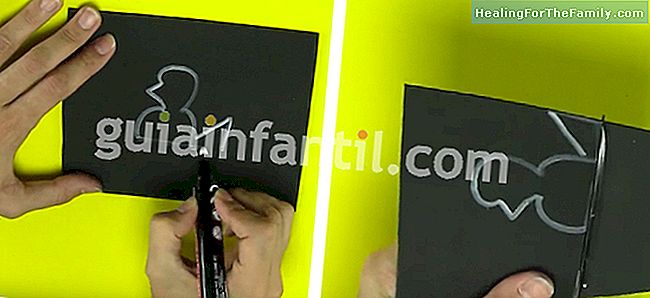
7. Take the black eva gum and draw a silhouette of a little bird with a white marker, then cut it out. Repeat this same step to make 6 more birds.
8.
Take your little birds and see them sticking with hot silicone
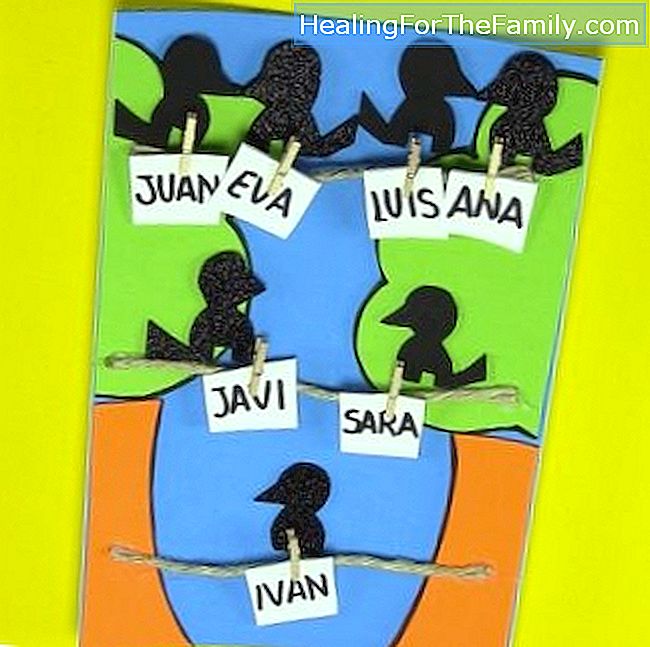
just above the strings. In the upper string, he places four, that is, a pair of birds on each side, in the second string he places a bird on one side and one more on the opposite side, on the third string he places a bird in the middle.9. Now take your white eva gum and cut out 6 squares. In one of the boxes write with a black marker, the name of one of the members of your family. Repeat this step until you have written the names of your 4 grandparents, your parents and yours.
10.

The last step is to place each of the names below the birds.
To do this, place the box with the name on the string and then attach it with one of the wooden clips. To save your family tree take your folder and place your project inside, so you will keep it in good condition. And now you have a evar family tree for super cute children. Do you like it?