Plasticine shepherd. Christmas crafts for children
The shepherds are part of the Bethlehem portal, he was accompanied by his sheep and was the first to pay homage to the Child Jesus. For this reason, the figures of the shepherds can not be missing in our homemade clay nativity scene. In this tutorial GuiaInfantil.com teaches you to do, step by step,
The shepherds are part of the Bethlehem portal, he was accompanied by his sheep and was the first to pay homage to the Child Jesus. For this reason, the figures of the shepherds can not be missing in our homemade clay nativity scene.
In this tutorial GuiaInfantil.com teaches you to do, step by step, the figure of a plasticine shepherd. It is a simple activity for children that encourages them to use their imagination and improves their coordination, as well as being ideal to entertain themselves in Christmas.
Materials
- Pink plasticine
- Red plasticine
- White plasticine
- Black plasticine
How to make a plasticine shepherd, step by step
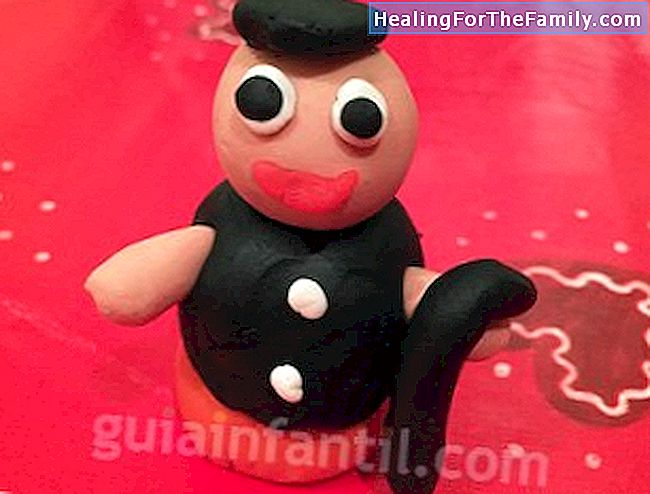
1. For the shepherd's body, we will make three plasticine balls: one little flattened red color for the bottom, a larger one in black that is placed on top and finally a smaller pink ball for the head.
2. To make the shepherd's hair take a ball of black plasticine, crush it with your fingers and put it on your head.
3. To make the bodies shape two strips of pink plasticine and put them on the sides of the body. To complete the details of the face: make two white balls and crush them, in the center put two smaller black balls, they will be the eyes. The mouth is made with a strip of red plasticine, and do not forget the buttons, they can be made with white balls and placed on the body.
4. To complete the pastor, do not forget the cane! Shape a strip of black or brown plasticine, curving one end, and put it on your hand.