Weekly organizer for the school. Children's crafts
Children sometimes have difficulty organizing the work they have to do at school or forget some tasks they must do. To avoid this and teach the children how to organize their homework, at Guiainfantil.com we teach you how to make a homemade weekly organizer. A manuality very easy to make and, above
Children sometimes have difficulty organizing the work they have to do at school or forget some tasks they must do. To avoid this and teach the children how to organize their homework, at Guiainfantil.com we teach you how to make a homemade weekly organizer. A manuality very easy to make and, above all, very useful.
Material:
- Photo frame with transparent glass
- Marker pen
- Rubber eraser
- Scissors
- Ruler
- Colored pages
- Adhesive letters
- Tape
How to make, step by step, a weekly school organizer
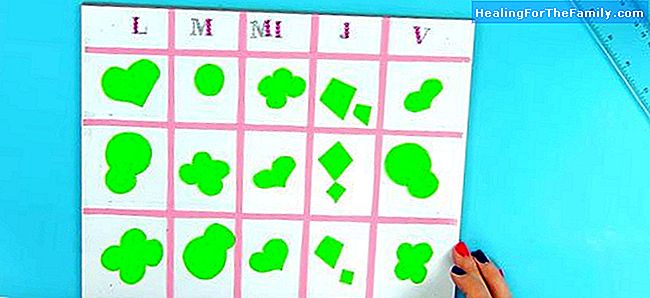
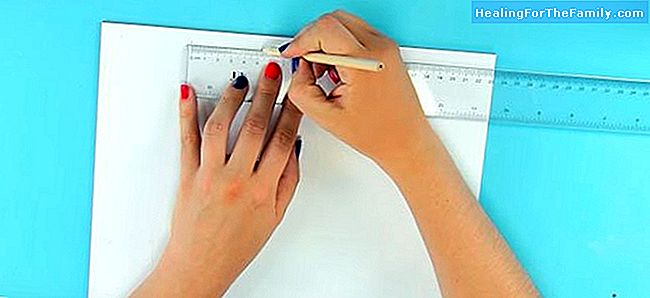
1. Take a sheet of paper and mark it with the rule a 1.5 cm frame. Then divide the longest part of the folio into five parts to place on it the days of the week, Monday through Friday.
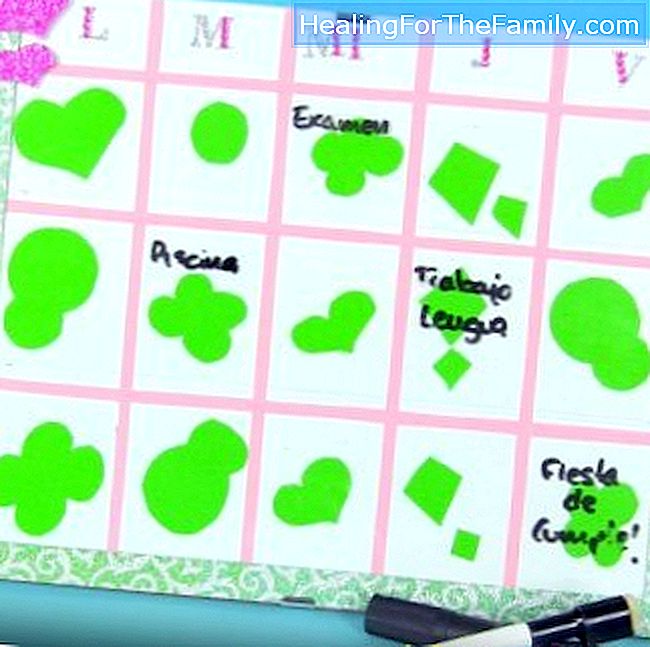
2. Cut out 0.5 cm strips from a pink sheet and stick them in the quadrants you have marked on the sheet. Glue them with zeal from behind to prevent the glue from staining the folio.
3. Stick stickers to each day of the week. You can also decorate the squares with motives such as hearts, suns or clubs. Colo

4. Place the glass on the frame and the folio, put some other motif with adhesive tape or glitter eva rubber and you can now write on this organizer the pending tasks with blackboard pen.
Video to learn how to make a weekly school organizer